Knitted increases form the foundation for a new column of knitting to appear. Where two columns lay, side-by-side, there are now three: two originals with a new column between.
The most simple foundation for the new column is a twist of yarn--a loop twisted shut, and that's (mostly) what this post is about.
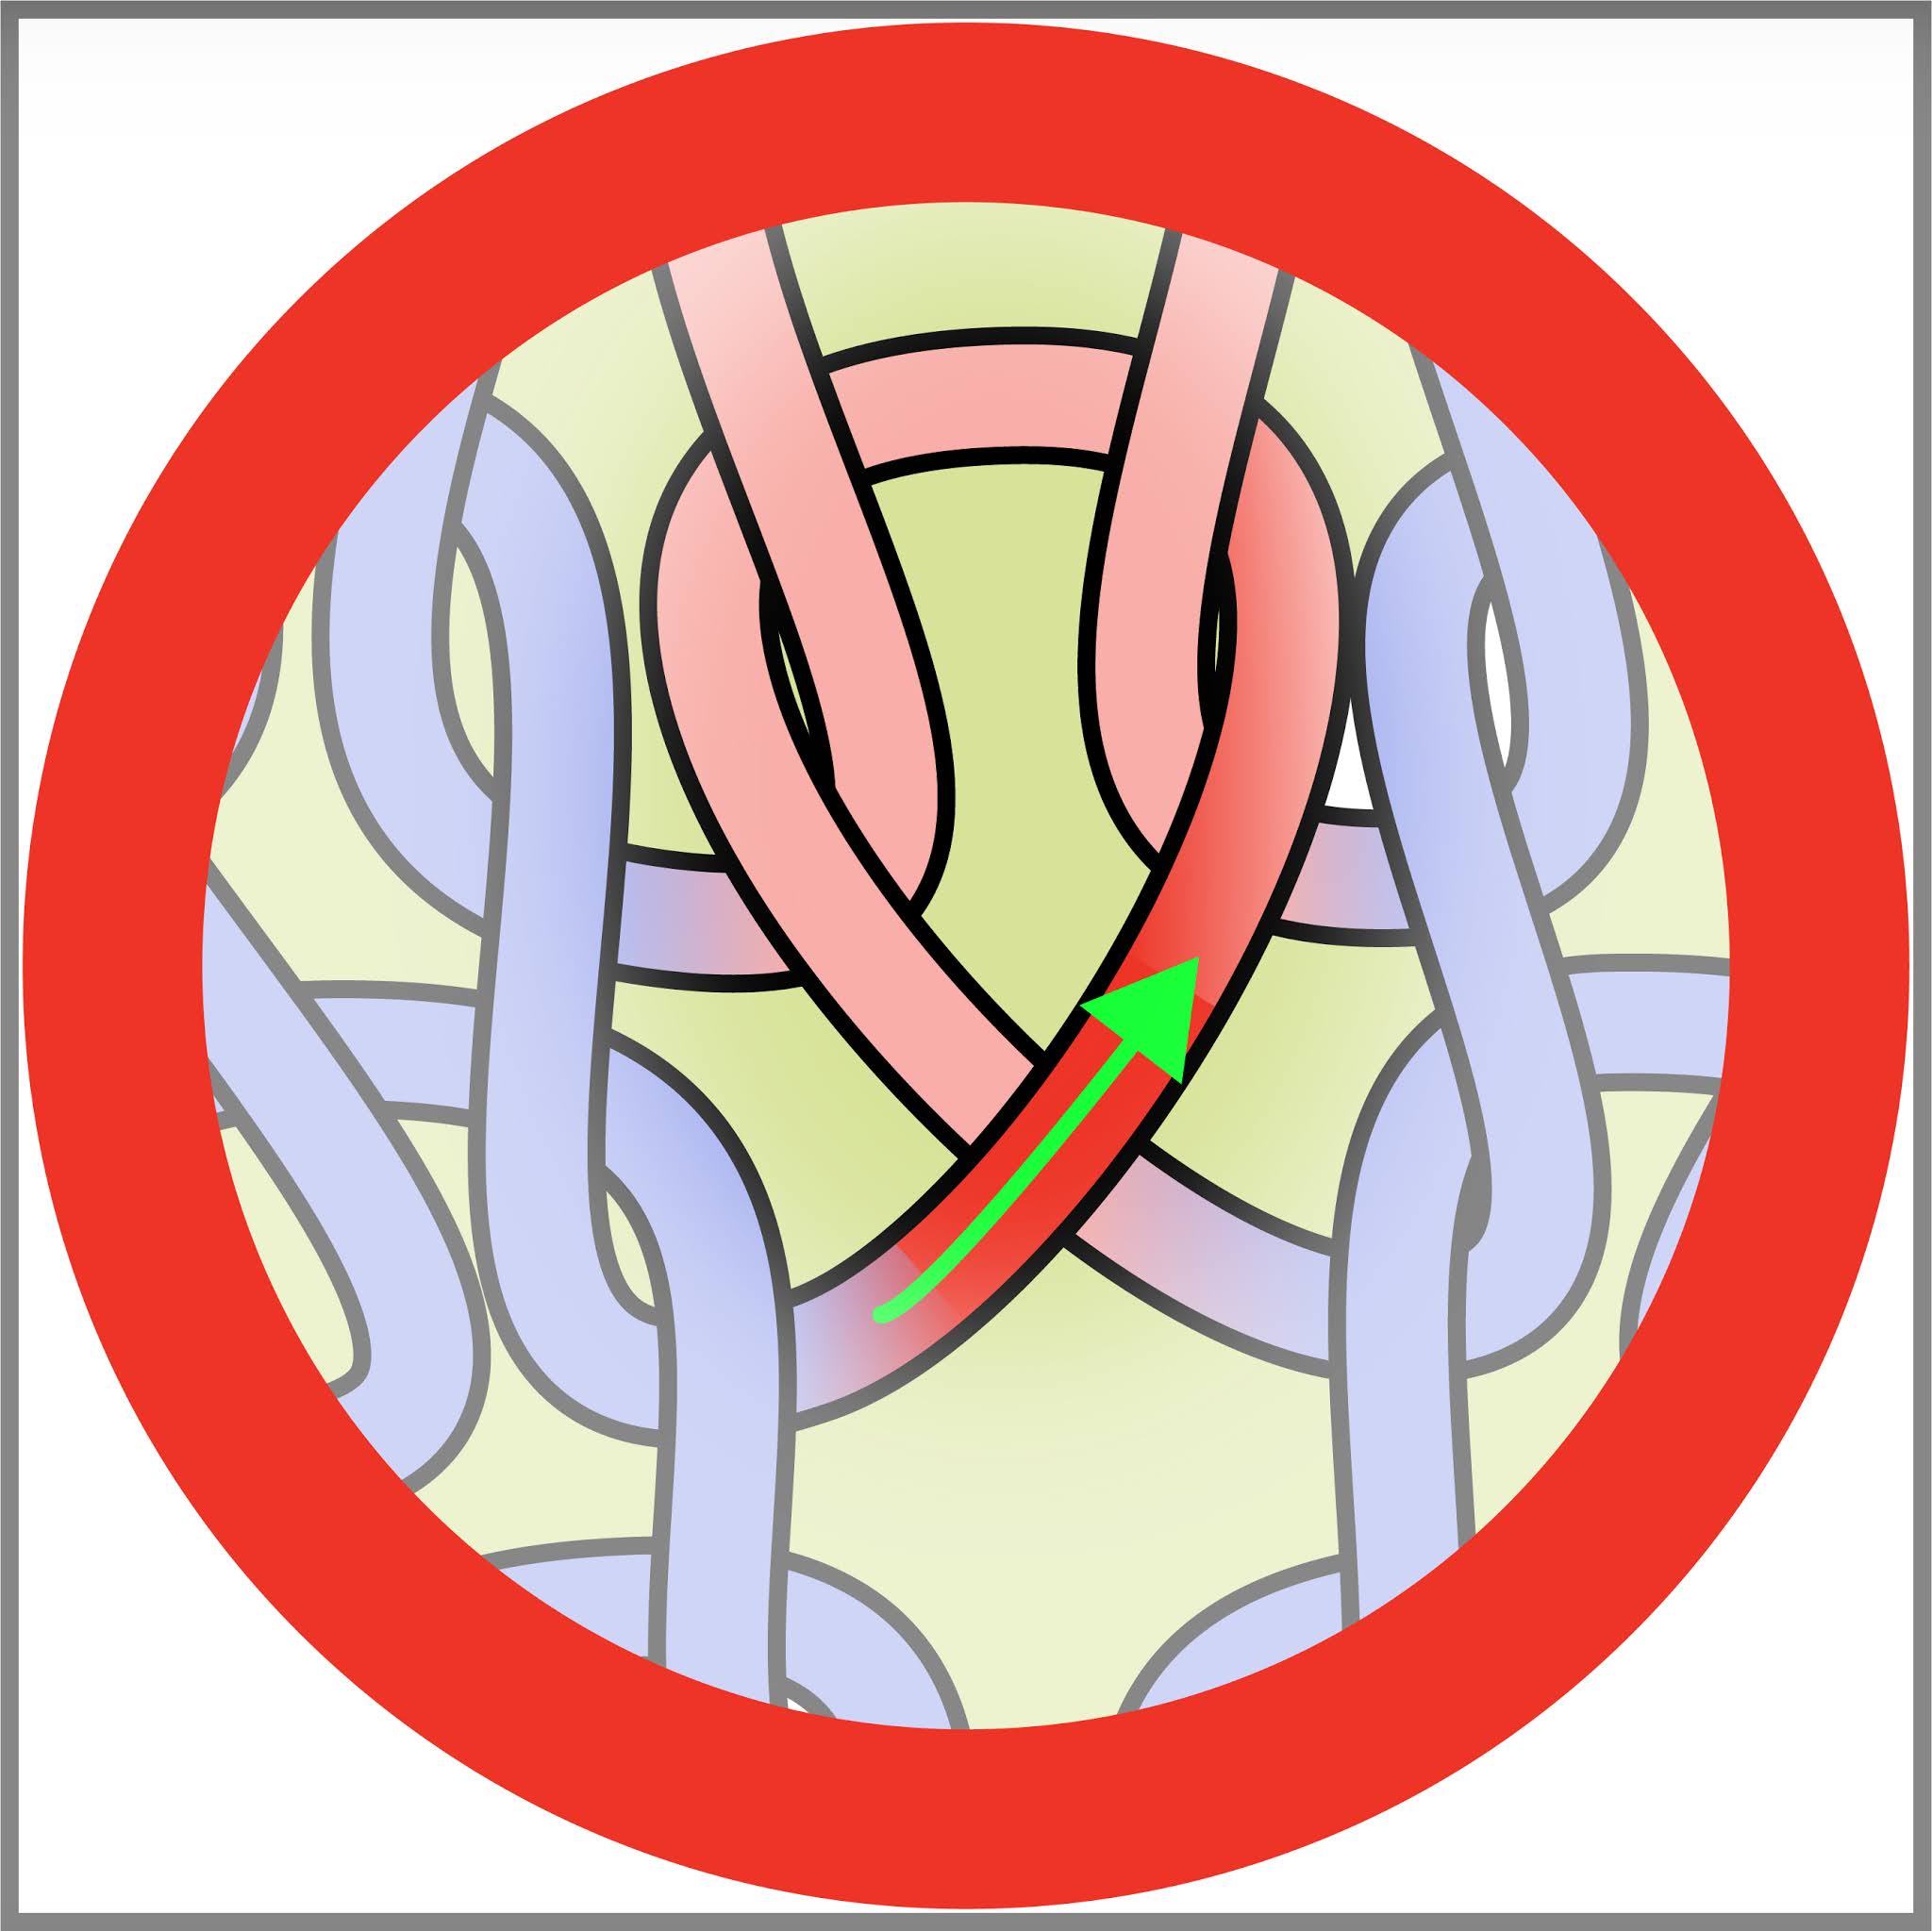
 |
| Stockinette fabric with an increase--the base of the increase column (pink) is a twisted loop of yarn. The red highlighting picks out where the actual twist of the loop occurs, and that twisted loop is considered the first stitch in the increase column. |
In the above illustration, the twisted loop (red) is the foundational stitch for the new column (pink).
Depending which way the twist is made, the top arm of the twist can "sweep up" either to left or right. This makes little difference structurally, However, if the twist is made where it can be seen, like on a raglan increase, being consistent and selective about this sort of decorative detail adds a finished appearance--handmade rather than home-made.
 |
| Top arm sweeps left |
 |
| Top arm sweeps right |
All the foundational twists in the red circles, regardless which way they sweep, could have been made by three different methods:
* Backwards loop
* Yanked increase
* Twisted YO (yarn-over)
Although the final path of the yarn in the fabric is identical between all three methods, their tightness is not. One is loose (backwards loop), one tight (yanked increase), and one medium (the twisted YO). Each shines in certain situations & there's more about tightness at the end of this post.
Each method shares many (but not all!) operational steps, so the illustrations also look similar.
.Backwards loop
 |
| Step 1: in the first round, work to where the increase column should start |
 |
Step 2: Pinch up a loop of the running yarn, twist it shut, and place it on the right needle. As shown, you can mount the twist either left- or right-arm forward, and this determines which way the increase appears to slant in the work. Mounting right arm in front translates to a left sweep in the fabric; whereas mounting left arm in front translates to a right sweep. As you see, the little loop looks like a lower-case "e" which gives this the alternative name of e-loop. If using the M1 designation for this increase, the sweep distinguishes whether this is called M1L (make-one-left) or M1R (make-one-right). |
 |
| Steps 3 and 4: In the following round, when you come to the spot where the loop was parked (left illustration) then knit into the loop (right illustration) making sure that the loop remains twisted shut |
Although this is a two-round (or -row) operation, the actual base of the column--the twist which is considered the first stitch of the increase column -- is created in the first go-round, and that is the round / row in which the increase appears. The second round (or row) is actually the second stitch of the column.
.Yanked Increase
As far as I know, this increase made from the tail of an existing stitch has no common name to distinguish that it is a one-row operation, although it can also be called "make one" (M1). To avoid confusion let's call this variation "yanked increase."
To make this increase, yank the tail of the stitch below out of the fabric with the right needle, lay that tail over the left needle, and then knit into it so as to twist it shut. Unlike the backwards-loop method, the yanked increase is done all in one row: the tail yanked up, then parked on the left needle, then twisted shut in the knitting process. Which way you place the tail yarn on the left needle, and which way you knit into it determines the sweep of the top arm.
 |
| Step 1: knit to where the increase column should start. With your right needle, fish up the underlying tail (red) and place it on the left needle (blue arrow) |
 |
| Step 2 (left sweep): Again, which arm you mount forward determines which way the twisted increase "sweeps." Here, the right arm of the yanked tail has been placed forward on the left needle, making what looks like a mini-yarn-over. When this mini YO is "knit shut" (twisted) by following the path of the blue arrow, what was a loop mounted right arm forward becomes an increase with the left arm on top, and this now-top arm of the increase appears to sweep left (per close-up). The working needle passes over the running yarn, then catches around the back leg of the loop (knit through the back loop); and then catches around the standing yarn as for an ordinary knit stitch. The running yarn is then pulled through, twisting the loop shut. If using this M1 designation for this increase, this sweep is called M1L (make-one-left). |
 |
| Step 2: (right sweep): Here, the mini YO is mounted on the holding (left) needle with left arm forward. When it is "knit shut" (path of blue arrow) what was the left arm becomes the right arm, and this arm now will appear on top, sweeping upwards and to the right (per close-up). The needle passes over the running yarn, catches around the front arm of the stitch, and then catches around the standing yarn as for a knit stitch. If using this M1 designation for this increase, this sweep is called M1R (make-one-right). |
Yanked increases and forgotten Yarn-Overs
A bit off-topic, but, you can knit into a yanked increase WITHOUT twisting it shut. This forms a tight sort of a yarn over--a hole in the fabric. You can knit into this hole as into any YO. Therefore, this is an excellent trick when you've forgotten to make a YO in the row below. Which arm lays forward on the left needle dictates whether the YO slants one way or another. ( Edited to add : per reader request, there is now an illustrated post on forgotten yarn-overs.)
To make an "I forgot" YO look as big as a planned YO, then, once you've gotten a few rows or rounds past the spot, pick some slack yarn from the neighboring stitches into the YO. It will look smaller to you, but no one else will ever see the difference.
.Twisted Yarn-over
The twisted YO (also sometimes called M1) combines elements from backwards loop and yanked increase. Like backwards loop, the twisted YO increase is a two-row operation: first row = yarn parked, second row = yarn worked. The difference is that in the first row, instead of parking a twisted loop on the left needle, you park a YO.
 |
| The twisted YO increase row 1: form a YO over the right needle. The YO can have its LEFT arm forward (upper left close-up) or its RIGHT arm forward (upper right close-up). Depending which way the YO was formed, for the rest of the first row, it sits in the fabric with that arm forward (lower close-ups). |


"After-knitting" and tightness
"After-knitting" (intro'ed in the structure of ribbing) means knitting on a yarn strand it after it is off the needles. Two of the increases in this post--the yanked increase and the twisted YO--are forms of after-knitting because the twisted loop forming their base isn't fully formed at the time of creation. Instead, some, but not all, of the yarn for the increase is parked in the fabric, to be worked up afterwards, in the following row.
Tightest. In yanked increase, a tail parked in the fabric is worked up in the next row. The tail of a knitted stitch is small, so when you twist it up to make an increase, that increase is tight: all the rest of the yarn in the twist has to be yanked out of the arms of the neighbor stitches. (This is similar to tightening ribbing by slipped-strand after-knitting.)
Medium tight. In twisted YO, some yarn for the increase is parked--that being the YO--but not enough to create an entire loop. So, when the YO is twisted up in the following row, some of the yarn also comes from the adjoining stitches. A YO is longer than a stitch-tail, so not quite as much of the neighbors' arm-yarn gets yanked up as with the yanked increase, and this makes the twisted YO only medium-tight.
Loosest. In backwards loop, the entire loop is formed over the barrel of the needle just like forming an ordinary stitch. When worked up in the following row, the yarn of the adjoining stitches isn't pulled into the loop: no "after-knitting" occurs. Putting enough yarn for a whole stitch into a column-bottom (not anchored to anything below) hmmm ... well, that's a lot of unsecured yarn. So this increase is the loosest of all. But! In tight knitting, or with bulky yarn, having some extra slack might be quite useful.
Geek note: this increase is a one-stitch version of the looped cast on (also called the e-cast on) and shares its "loose yarn" problems.
Short rows and "short columns:" anchoring to the neighbor stitches
Another way to think about tight vs. loose increases: if you're familiar with short rows, you can think of an increase as giving rise to a "short column." So just as with short rows, we'd like to avoid holes. Making a twisted increase as the base of a column is like working a short-row without doing any connecting tricks (wrap and turn, lifted increase, etc.) This is because, like an unconnected short row, the column is not anchored. Tightening the twisted increase by after-knitting (yanked increase, twisted YO) doesn't actually anchor the increase column at the bottom, but the tightening does anchor the base-twist sideways into the adjoining columns more snugly, making less slack available to get up to hole-forming tricks.
Other increases which are anchored at the bottom of the column
If sideways tightening isn't enough, so you do want to actually physically connect the bottom of the increase column to your knitted fabric, here are two options.
First, the nearly invisible increase (also a species of after-knitting). The only reason the nearly-invisible isn't more used is that it doesn't work well in a line of increases, like on a top-down raglan. This is because, like the yanked increase, it tightens the fabric significantly, and even more so. However, for non-linear increases, like on a top-down yoked sweater, the nearly-invisible is a great choice. Full directions are at the linked post.
The second anchored-at-the-bottom increase is a KFB (knit front and back). KFB is also a kind of a twisted-stitch increase, but the twist is made in the head of the stitch, instead of its tail. First, the stitch is knit into in the perfectly ordinary way. Then, that same stitch is knit into again through the back leg, with a twist separating the first- and second-knitting, per above linked post. (Like the nearly invisible, the yanked increase and the twisted YO, KFB is also a species of after-knitting. There's a trend here...)
--TK