In this post, the sixth* in a TECHknitting series about buttonholes, we turn to correcting errors--what to do when you forget to make a button hole, but the buttonholes were supposed to be made "as you go."
Typical instructions for as-you-go buttonholes might look like this:
- "...continue to decrease every 6th row at armhole edge, also remembering to work buttonholes as previously directed, and remembering also to work the six front edge stitches in garter stitch."
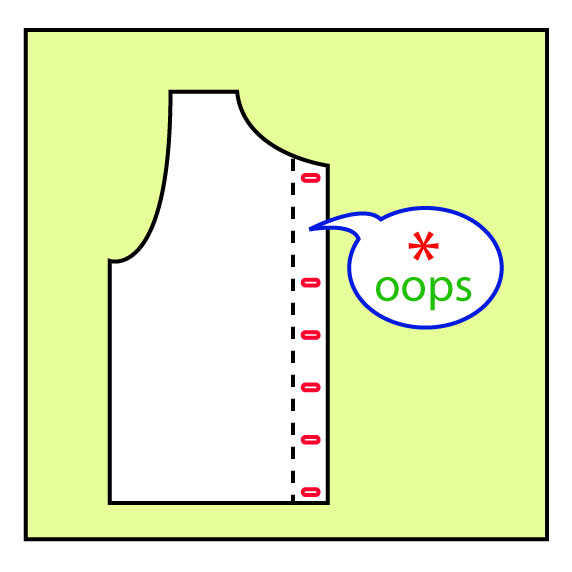 |
| "I missed a buttonhole!" |
The heart of the trick
Underlying all four variations in this post is the same simple trick: sew a button down over each of the buttonholes already made, as well as over the spot where you missed making the buttonhole.*
The result will look just as if you had never made a mistake in the first place. The buttonholes you did remember to make will be completely closed and completely covered up, so they'll become invisible, while the missed buttonhole is also covered up with a button, just like all the others.
 |
| Sew a button over the buttonholes you remembered to make, as well as over the spot where you forgot to make one |
However, as neat as this trick is, it leads to an obvious problem, namely, how to make buttonholes--or their functional equivalents--on the other side.
Variation 1: Decoration buttons with snaps beneath.
In this variation, the buttons you sew on are non-functional (decoration) buttons. Best to use shank-less buttons (the kind with the holes through them, rather than the kind with a little stem or "shank" on the back). Sew these decoration buttons on flat. Next, sew snaps UNDER these buttons. Finally, sew the matching part of the snap on the OTHER front. Voilà--problem solved!
 |
| Decoration buttons sewn on over the already-made buttonholes, as well as over the spot where the buttonhole was missed. Snaps then sewn under each button with the corresponding snap-half sewn onto opposite front |
On the upside, this is a very easy fix. On the downside, snaps aren't usually very pretty, and can be seen when sweater is worn open. However, you can minimize this problem by using clear plastic snaps. (look for jumbo snaps, better suited to knitwear than the smaller snaps.) Or, if you're feeling crafty, you might want to consider making cloth-covered snaps, which also look very well.
Variation 2: Functional buttons, switch sides for buttonholes
If you have not yet knit the opposite front, you can sew buttons on over the messed-up side, then knit the buttonholes when you do knit the other side, hopefully remembering all of this this time! Remember that in this variation, the buttons are actual, working buttons, so don't sew them on flat. Instead, use a shanked button, or a flat button sewn on with a thread shank.
 |
| If you haven't yet knit the other side of the garment you can go ahead and sew the buttons onto the messed-up side, then simply make the buttonholes on the other side, instead |
Variation 3: Anchor buttons, hidden buttonholes
This variation is used under the same circumstances as variation 2: when the opposite front has not yet been worked. Like variation 2, the buttonholes are made in the as-yet-unworked front. The difference between this variation and the one before it is that, when you sew each decoration button onto the messed-up side, you sew another button on underneath it. Stated otherwise, each decoration button has a functional "anchor button" sewn onto the back of its band, shown in red on the illustration below.
It is this red hidden anchor button which does the actual buttoning through the buttonholes on the opposite band. When the sweater is buttoned, the buttonholes are completely hidden.
 |
| Each decoration button (green) is sewn with an anchor button (red) underneath as shown in the inset. It is this anchor button which is to be pushed through the buttonholes made on the other front of the garment. |
On the upside, this preserves the gender orientation of the button placement. It also lends a mysterious couture sort of look to the garment: the button band appears to float because the method of closure is not obvious.
On the downside, it's awkward to button a hidden button into a buttonhole which lies under it. You have to put your hand inside the garment to insert or release the anchor button from the hidden buttonhole. Another downside is the bulk caused by stacking together the decoration button, the fabric of the buttonband itself and the anchor button. Using very slim buttons, such as mother-of-pearl shell buttons can minimize this problem.
Variation 4: Loop buttonholes
If variation 1 does not appeal to you because you don't like the idea of snaps, and if it's too late to use variations 2 or 3 because the other front has already been knit, a last variation remains available. In this variation, you again begin the cure by sewing buttons over the messed-up band. Then, you make loop buttonholes along the edge of the other front.
There are two ways to make such loops buttonholes (shown in red below). You can either slip stitch a "chain" or use an I-cord attached along the edge.
 |
| Loop buttonholes (red) added along the opposite edge |
The idea behind both kinds of loop buttonholes is the same: when you get to a position opposite where a button is sewn on, you detach the chain or cord to form a loose loop big enough to fit over the button--one loop per button.
Real life example of slip stitched chain loop-buttonhole
To see how to work a slipped stitch edge, have a look at this illustrated post (the post shows slip stitching along a garter-stitch edge, but the technique is the same regardless of whether the fabric edge is garter stitch or any other stitch). Remember to make a loose loop in order to create the buttonholes, whenever you get to the matching position opposite a button.
Below is a photo of a chain buttonhole in action, looped over a pretty little glass-rose button, on a lacy cotton jacket.
 |
| Slip stitched chain-loop buttonhole in action |
As you see, the looped buttonhole was slip stitched onto a garter stitch band. (For a fuller view and description of this entire garment, you can go to its project page on Ravelry.)
Real life example of I-cord loop-buttonhole
Below is a photo of an I-cord looped buttonhole in action, This particular I-cord was slip stitched on (same idea as the slip stitched edging, but the slip stitch was worked through both the I-cord AND the garment edge, from the front). However, if the idea of combining I cord with slip stitch makes your head want to explode, you can attach the I-cord any way you like--sewing would be one simple way.
 |
| I-cord looped buttonhole in action |
_______
*Does the trick of sewing a button over a buttonhole look familiar to you? It's actually a variation on a trick for baby sweaters, where you make buttonholes on both sides of a baby sweater, then sew the buttons down over the unneeded buttonholes once you know whether the new arrival is a girl or boy (scroll to third paragraph at link).
Good knitting! --TK
__________________
*
(Posts in this series)
.Buttonholes in hand knitting, part 1: lore and tradition plus some nifty tricks
(Related posts)