*A purled decrease which slants RIGHT as seen from the front side of a stockinette fabric is not usually called a "right leaning purled decrease." Instead, the decrease is named by its method of creation. In other words, these right leaning decreases are usually called "purl 2 together" (usually abbreviated "p2tog") because that's what you do to get them.
*A purled decrease which slants LEFT as seen from the front is called various things, but hardly ever simply "left leaning purled decreases." Instead, like the right-leaners, these left-leaners are also usually named for their method of making. So, just to confuse the heck out of you, these left-leaners are sometimes also called "p2tog," just like the right leaning ones. Other, more common names include "slip, slip, purl" ("ssp") or "purl 2 together through the back loops" (usually abbreviated "p2tbl" but sometimes "p2togtbl.")
RIGHT LEANING (as seen from the front)
This is a simple one step process: Instead of sticking your right needle into the first (green) stitch at the tip of the left needle and purling it, you instead stick your right needle into the first two stitches (green and blue) and purl them together, as shown below.

The result, as seen from the front, is shown below.

Do you see what you've done? By first inserting your right needle into the first stitch on the tip of the left needle (the green stitch) and next into the second stitch on the left needle (the blue) you have forced the green stitch in front of the blue stitch, as seen from the front (knit side) of the fabric. The green stitch has "eaten" the blue stitch to its right thus pulling the green stitch rightwards ---> over the blue stitch, and this is what forces the decrease to slant right. The slant is not purely rightwards, however, but "up and to the right" because the base of the stitches remains separated--it is only the heads which you've merged. As stated earlier, these right leaning decreases are usually called "p2tog."
LEFT LEANING (as seen from the front)
This is a three step process
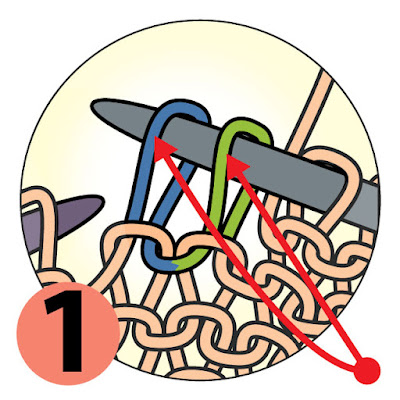
Step 1: Slip the first (green) stitch on the tip of the left needle onto the right needle KNITWISE. This means to insert the needle into the stitch as if you were going to knit it. When the right needle is inserted this way and then the stitch slipped off, the stitch turns away from its usual right-arm-forward orientation. Now, the left arm of the stitch is forward (towards you) and the right arm is back (away from you.) Note that you do not pass a yarn through this loop, you just slip it from the left needle onto the right one, changing its orientation along the way.
Repeat this process with the next (blue) stitch on the tip of the left needle. You will wind up with both the blue and the green stitches on your right needle, and both should be laying left arm forward as shown by the red arrows.

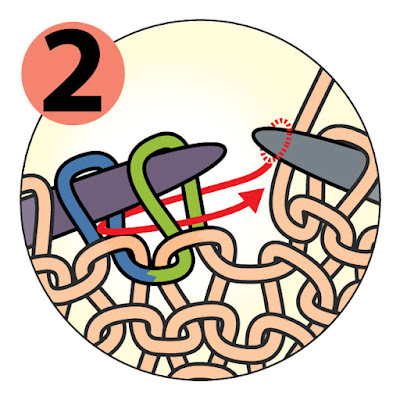
Step 2: Return the blue and green stitches to the left needle without disturbing their orientation. The end result of all this slipping and sliding should be the blue and the green stitch laying on the tip of the left needle, oriented left arms forward, right arms back.

Once these stitches are parked on the left needle, you will insert the tip of the right needle into the right (back) arms of both of these stitches as shown by the red arrow. Note that the right needle is to insert from the back, first under the right arm of the BLUE stitch, and then under the right arm of the green stitch. This is admittedly a bit awkward, but persevere.
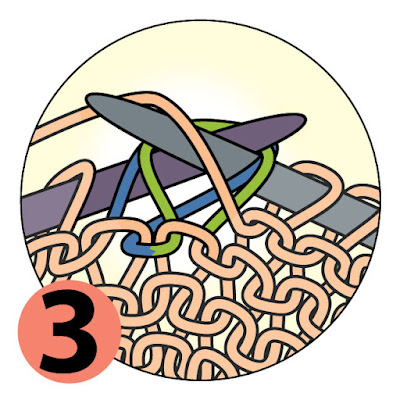
Step 3: Again: once your right needle has followed the path of the red arrow, it will have been inserted first through the right (back) arm of the second stitch on the left needle (the blue stitch) and next through the right (back) arm of the first stitch on the left needle (the green stitch) as shown. Note also that the running yarn has been brought to the front before the right needle is inserted, in order to make it possible to purl.

Once you draw the running yarn through these two loops, the result, as seen from the front, is as below.

The loop through which the needle was first inserted, here the blue one, has been forced to the front. This blue stitch has "eaten" the green one to its left, which pulls the blue stitch <---- leftwards over the green stitch, so the decrease slants to the left. The slant is not purely leftwards, but rather "up and to the left" because with this decrease, as with the previous one, the base of the two stitches remain separated, it's only the heads which you've merged.
As stated earlier, this left leaning decrease is sometimes called "p2tog" just like the right leaning decrease is. However, it is more commonly called "slip, slip, purl" (ssp) or sometimes "purl 2 together through the back loops," (p2togtbl or p2tbl).
The BOTTOM LINE and a RULE TO FOLLOW
You can straighten out any confusion about the messy naming situation of purled decreases by simply ignoring the names given in your pattern. Instead, look to see which way the decrease OUGHT to lean for best looks, and do that. Remember the rule:*if you first insert your right needle through the FIRST (green) stitch on the left needle tip and then through the second (blue) stitch, the green will be pulled rightwards ----> over its neighbor and the resulting decrease will slant right as seen from the front of a stockinette fabric
*after the re-orientation steps (in other words, when you get to step 3) then if you first insert your right needle through the SECOND (blue) stitch on the left needle tip and then through the first (green) stitch, the blue will be pulled <---- leftwards over its neighbor and the resulting decrease will slant left as seen from the front of a stockinette fabric.
Two last notes:
1. Some instructions for a left leaning purled decrease ignore the re-orientation steps (steps 1 and 2) and instead jump directly to purling through the back loops (step 3). The result is a twisted loop on the front surface of the fabric--not so pretty.
2. If your decreases are to be viewed from the purled side of a stockinette fabric (reverse stockinette side) then it really makes absolutely no difference how you make them, so make the one-step right leaning decreases because they are easier and quicker. The reason it makes no difference is because in the purled and bumpy landscape of a reverse stockinette fabric, the orientation of the loops will simply not show. As long as you're making the purled decreases where you ought to be (on the side of the marker as specified by your pattern) you'll get the result envisioned by the designer. It's only when viewed from the persnickety and smooth front (knit) side of a stockinette fabric that the direction of lean is important.
--TK
Addendum, added 10-13-09. In the comments, Rachmouse asks for a photo of these purl decreases from the purl side. Here you go Rachmouse!
But...just one thing, first. Also in the comments, Cheryl S. discusses the danger of confusion inherent in naming the slants based on how they look from the front. Cheryl is 100% correct, and if I could think of a better way to name these, I totally would. The photo that Rachmouse asked for perfectly illustrates Cheryl's point: As you can see the decrease which WILL be LEFT facing from the front is part of a line of RIGHT SLANTING decreases from the back. Similarly, the decrease which WILL be RIGHT facing from the front is part of a line of LEFT SLANTING decreases from the back. So, be warned -- look at the front frequently to be sure that your purled decreases slant the way you want them to, and don't put too much stock in what these purled decreases are called. And now, here's the photo Rachmouse requested:

You have been reading TECHknitting blog on "Purled decreases: p2tog, SSP, p2tbl, p2togtbl"
--TK
Addendum, added 10-13-09. In the comments, Rachmouse asks for a photo of these purl decreases from the purl side. Here you go Rachmouse!
But...just one thing, first. Also in the comments, Cheryl S. discusses the danger of confusion inherent in naming the slants based on how they look from the front. Cheryl is 100% correct, and if I could think of a better way to name these, I totally would. The photo that Rachmouse asked for perfectly illustrates Cheryl's point: As you can see the decrease which WILL be LEFT facing from the front is part of a line of RIGHT SLANTING decreases from the back. Similarly, the decrease which WILL be RIGHT facing from the front is part of a line of LEFT SLANTING decreases from the back. So, be warned -- look at the front frequently to be sure that your purled decreases slant the way you want them to, and don't put too much stock in what these purled decreases are called. And now, here's the photo Rachmouse requested:

You have been reading TECHknitting blog on "Purled decreases: p2tog, SSP, p2tbl, p2togtbl"